How to Make a Basic Amplifier Circuit
Amplifiers are essential components in electronics, used to increase the voltage, current, or power of a signal. In this article, we will guide you through the process of building a basic amplifier circuit using common electronic components. By following these steps, you can create your amplifier and enhance the audio output of your electronic projects. Let’s get started!
Materials Needed
- Breadboard
- NPN Transistor (such as 2N3904)
- Resistors (100 ohms, 1k ohm, 10k ohm)
- Capacitors (0.1uF, 10uF)
- Audio Source (e.g., Smartphone)
- Speaker
- Jumper Wires
- 9V Battery
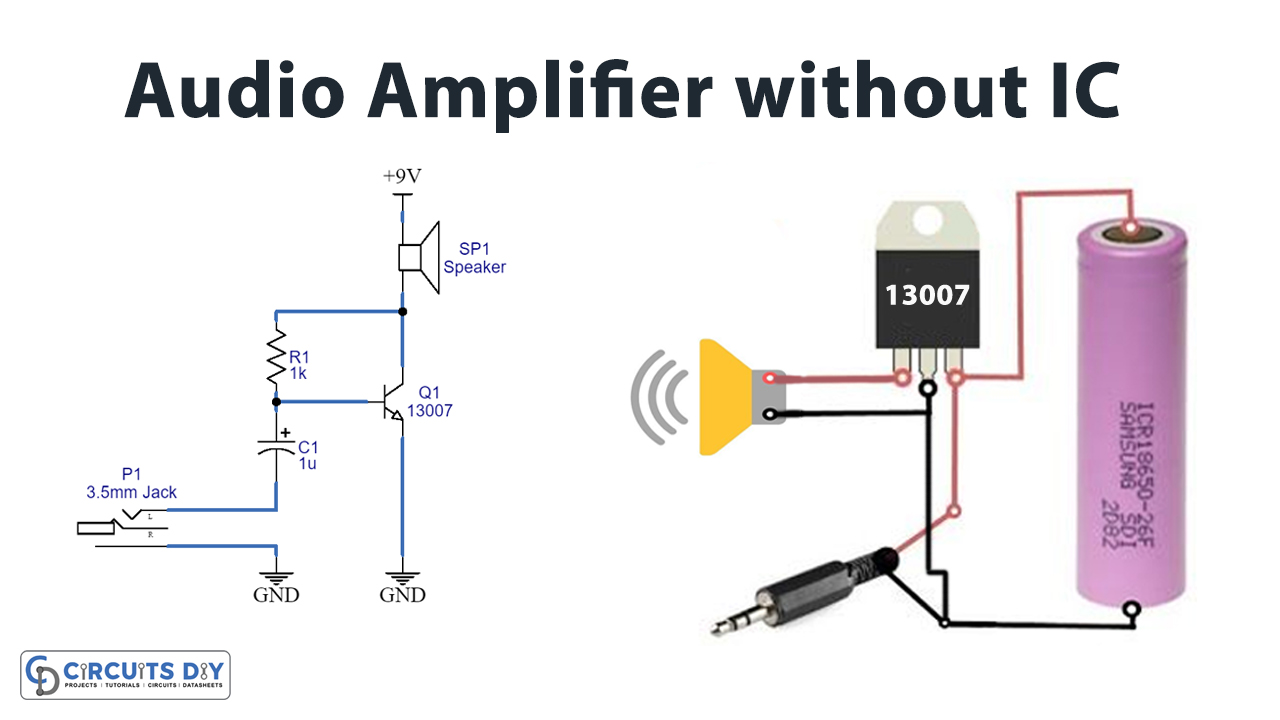
Circuit Diagram
Before assembling the components on the breadboard, let’s take a look at the circuit diagram of our basic amplifier:

As shown in the diagram, the circuit consists of an NPN transistor connected in a common emitter configuration. The audio signal from the smartphone is connected to the base of the transistor through a capacitor, which blocks the DC bias. The amplified signal is then fed to the speaker through a resistor.
Building the Circuit
Now that we have a clear understanding of the circuit, let’s start building it on the breadboard:
- Place the transistor on the breadboard, ensuring the emitter is connected to ground (negative rail).
- Connect the base of the transistor to the audio source through a 0.1uF capacitor.
- Connect a 100-ohm resistor between the emitter and collector of the transistor.
- Connect the speaker to the collector of the transistor.
- Connect a 10uF capacitor in parallel with the speaker to block any DC bias.
- Connect the positive terminal of the battery to the collector and the negative terminal to ground.
- Power up the circuit with the 9V battery.
Testing the Amplifier
Once the circuit is assembled, connect the audio source (e.g., smartphone) to the input and switch it on. You should hear the audio amplified through the speaker. Adjust the volume to see the effect of amplification. Congratulations! You have successfully built a basic amplifier circuit.
Customizations and Improvements
For those interested in further experimenting with the amplifier circuit, there are several customizations and improvements you can make:
- Experiment with different transistor models for varied amplification capabilities.
- Adjust the resistor values to control the gain of the amplifier.
- Explore adding feedback elements for better linearity.
- Integrate tone control circuits for enhanced audio quality.
Feel free to experiment with these possibilities to create your unique amplifier circuit tailored to your specific needs and preferences. The possibilities are endless!
Building a basic amplifier circuit is a rewarding experience that can enhance your understanding of electronics and provide you with a versatile tool for audio projects. Whether you’re a hobbyist or a student, this project is a great way to dive into the world of amplifiers and unleash your creativity. Have fun building!
Was this helpful?
0 / 0