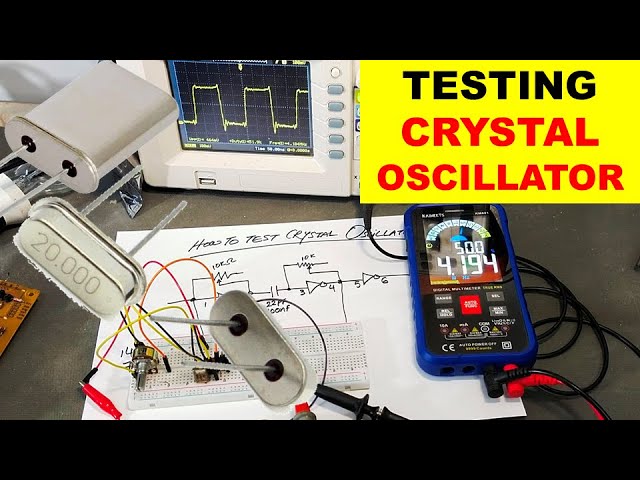
How to Test a Crystal Oscillator
A crystal oscillator is an important component in many electronic devices, providing an accurate and stable frequency for various applications. To ensure the proper functioning of a crystal oscillator, it is essential to test it regularly. In this article, we will discuss the steps involved in testing a crystal oscillator to ensure its reliability and performance.
1. Visual Inspection
The first step in testing a crystal oscillator is to visually inspect it for any physical damage or signs of wear. Check for any cracks, scratches, or discoloration on the crystal housing. Make sure that the connections and solder joints are intact and free from any corrosion. If you notice any issues during the visual inspection, it may be a sign that the oscillator needs to be replaced.
2. Frequency Testing
Once you have completed the visual inspection, the next step is to test the frequency of the crystal oscillator. Use a frequency counter or a signal analyzer to measure the output frequency of the oscillator. Compare the measured frequency with the specified frequency of the crystal oscillator. If the measured frequency deviates significantly from the specified frequency, it may indicate a faulty oscillator that needs to be replaced or recalibrated.
3. Stability Testing
In addition to measuring the frequency, it is important to test the stability of the crystal oscillator. Subject the oscillator to different environmental conditions, such as temperature variations or mechanical vibrations, and monitor how the frequency output changes. A stable oscillator should maintain a consistent frequency output regardless of external factors. If you notice significant variations in the frequency output, it may indicate a stability issue with the oscillator.
4. Harmonic Testing
Another important aspect of testing a crystal oscillator is to check for harmonics in the frequency output. Use a spectrum analyzer to analyze the frequency spectrum of the oscillator’s output signal. Look for any harmonics or spurious signals that may indicate distortion or interference in the output signal. A clean frequency spectrum with minimal harmonics is a sign of a well-functioning crystal oscillator.
5. Aging Testing
Over time, crystal oscillators can experience aging, which may cause a drift in frequency output. To test for aging, monitor the frequency output of the oscillator over an extended period of time. Compare the initial frequency output with the frequency output after a few days or weeks. If you notice a significant drift in frequency, it may indicate that the oscillator is experiencing aging and may need to be replaced.
6. Load Capacitance Testing
Lastly, it is important to test the load capacitance of the crystal oscillator to ensure proper operation. Use a capacitance meter to measure the load capacitance on the oscillator’s output pins. Compare the measured load capacitance with the specified load capacitance of the oscillator. If there is a significant difference, it may affect the performance of the oscillator and require adjustments to the circuit design.
Conclusion
Testing a crystal oscillator is essential to ensure its reliability and performance in electronic devices. By following the steps outlined in this article, you can effectively test a crystal oscillator and identify any issues that may affect its operation. Regular testing and maintenance of crystal oscillators are crucial to maintaining the accuracy and stability of electronic systems.
Was this helpful?
0 / 0