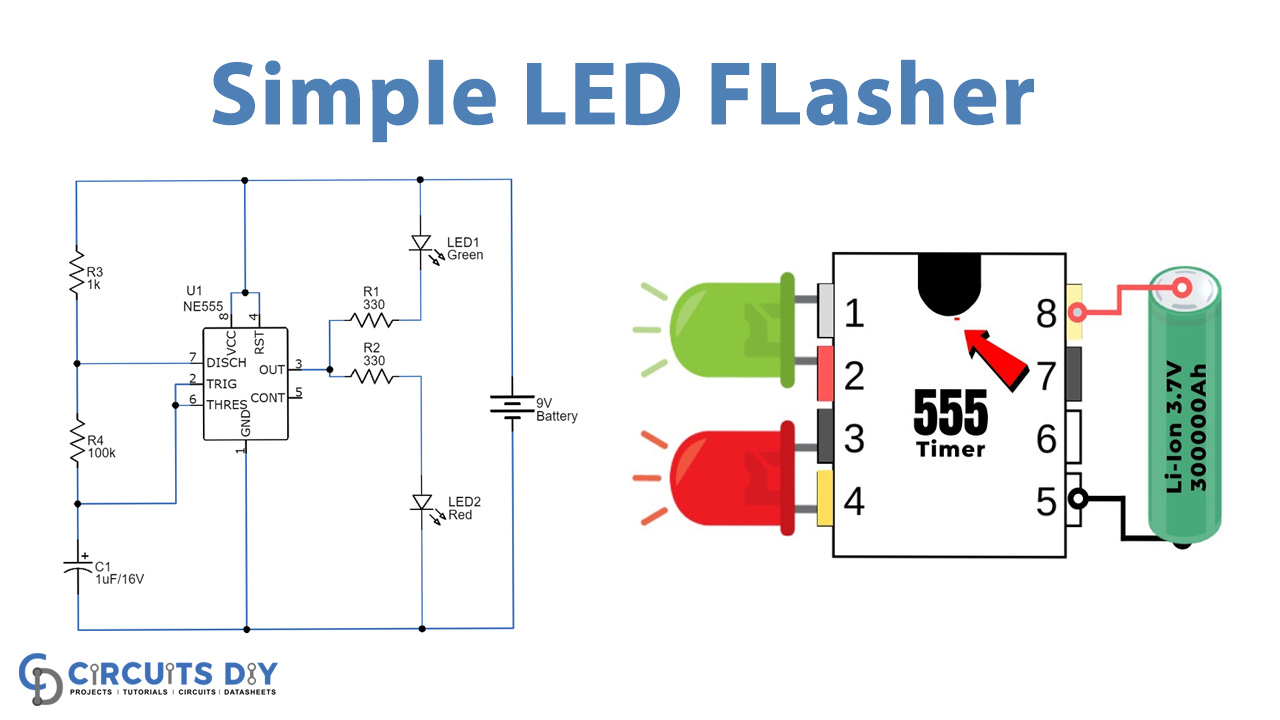
How to Make a Simple LED Flasher Circuit?
Are you looking to create a fun and easy electronics project? A simple LED flasher circuit can be a great way to enhance your DIY skills and add a touch of light to your projects. In this article, we will guide you through the process of building a basic LED flasher circuit that can be a cool addition to your next project.
Materials Needed:
- Breadboard
- LEDs (2)
- Resistors (2 x 220 ohms)
- Transistor (BC547 or similar NPN transistor)
- 9V Battery
- Jumper wires
Steps to Build the LED Flasher Circuit:
Follow these simple steps to create your own LED flasher circuit:
Step 1: Place the transistor on the breadboard with the flat side facing towards you. Insert the resistor between the base (middle pin) of the transistor and one of the LED’s anode legs. Connect the other anode leg of the LED to the positive rail of the breadboard.
Step 2: Connect the collector (left pin) of the transistor to the negative rail of the breadboard. Insert the other resistor between the collector of the transistor and the cathode of the second LED. Connect the other leg of the LED to the positive rail of the breadboard.
Step 3: Connect the emitter (right pin) of the transistor to the negative rail of the breadboard. Connect the negative terminal of the 9V battery to the negative rail and the positive terminal to the positive rail.
Step 4: Once all connections are made, the LEDs should start flashing alternately. If the LEDs do not light up, double-check your connections and make sure everything is properly connected.
Experiment and Customize:
Once you have successfully built the LED flasher circuit, you can experiment with different resistor values and LED colors to customize the flashing pattern. You can also try using capacitors to adjust the flashing speed.
Get creative and see how you can make your LED flasher circuit unique! This simple project is a great introduction to electronics and can be a fun way to learn more about circuit design and components.
Conclusion
Building a LED flasher circuit is a simple and rewarding project that can be a great addition to various DIY projects. By following the steps outlined in this article, you can create your own custom LED flasher circuit and add a touch of light to your creations.
Remember to have fun while experimenting with different components and configurations. Who knows, you might discover new ways to enhance your LED flasher circuit and make it even more exciting!
Was this helpful?
0 / 0