How to Test an Old Capacitor
Capacitors are vital components in electronic circuits, storing and releasing electrical energy when needed. Over time, capacitors can degrade and lose their functionality, affecting the performance of the device they are a part of. Testing old capacitors is crucial to ensure the proper functioning of your electronic devices. In this article, we will discuss how to test an old capacitor to determine whether it needs to be replaced.
What is a Capacitor?
A capacitor is a passive electronic component that stores electrical energy in an electric field. It consists of two conductive plates separated by an insulating material called a dielectric. When a voltage is applied across the plates, the capacitor stores energy in the form of an electric field. Capacitors come in various types and sizes, ranging from tiny surface-mount capacitors to large electrolytic capacitors used in power supplies.
Why Test an Old Capacitor?
As capacitors age, they can develop faults such as leakage, high ESR (equivalent series resistance), or short circuits. These faults can lead to malfunctions in the circuit, affecting the performance of the device. Testing old capacitors is essential to identify any faults and replace them if necessary. It is far better to proactively test and replace faulty capacitors than to deal with the consequences of circuit failure.
How to Test an Old Capacitor
There are several methods to test an old capacitor, depending on its type and size. One common method is to use a multimeter to check the capacitance, ESR, and leakage of the capacitor. Here is a step-by-step guide on how to test an old capacitor using a multimeter:
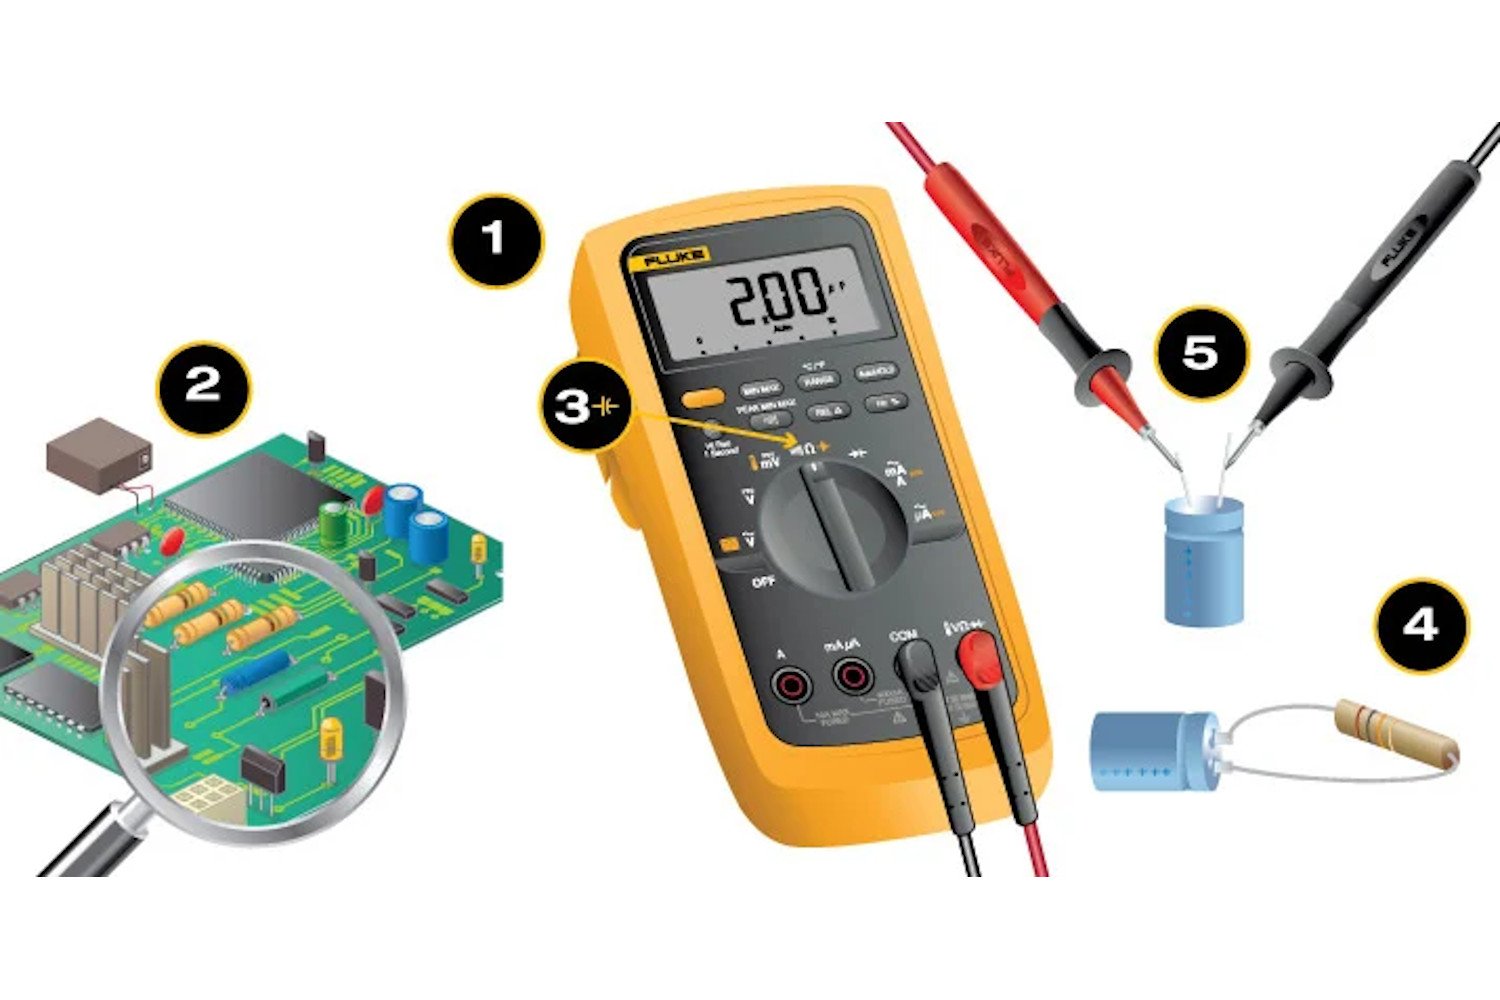
- Turn off the power to the device containing the capacitor and discharge the capacitor by shorting its terminals with a resistor.
- Set your multimeter to the capacitance measurement mode.
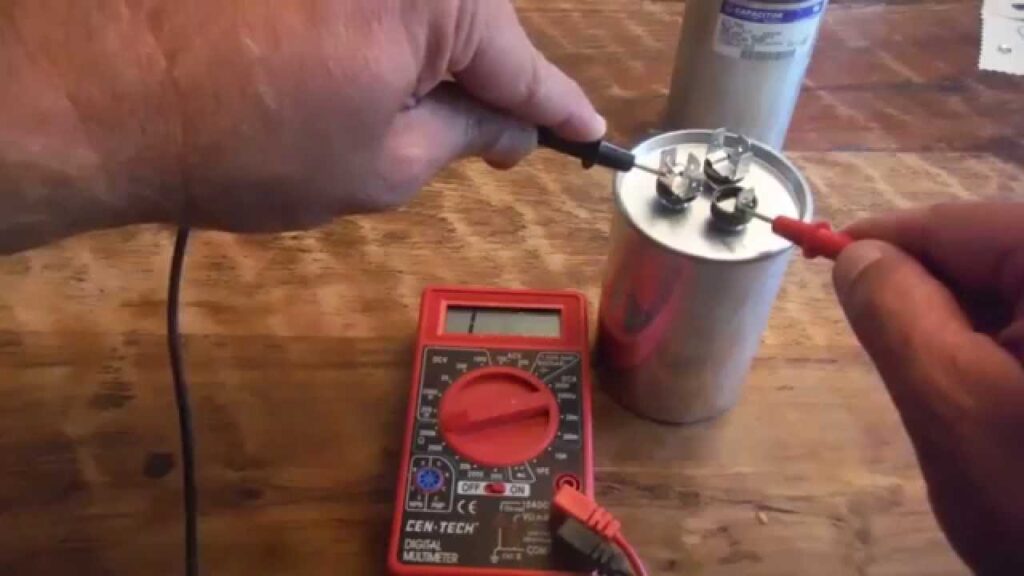
- Connect the multimeter leads to the capacitor terminals, observing the polarity.
- Read the capacitance value displayed on the multimeter. Compare this value to the rated capacitance of the capacitor.
- Next, switch the multimeter to the resistance measurement mode to check the ESR of the capacitor.
- Connect the multimeter leads to the capacitor terminals again and read the ESR value displayed on the multimeter.
- A high ESR value indicates a faulty capacitor that needs to be replaced.
- Finally, switch the multimeter to the continuity measurement mode to check for any leakage in the capacitor.
- Connect one multimeter lead to the positive terminal of the capacitor and the other lead to the negative terminal.
- If the multimeter beeps or shows continuity, it indicates leakage in the capacitor.
By following these steps, you can effectively test an old capacitor using a multimeter. If the capacitor fails any of the tests, it is best to replace it with a new one to ensure the proper functioning of your electronic device.
Conclusion
Testing old capacitors is a simple yet crucial task to ensure the reliability of your electronic devices. By following the steps outlined in this article, you can easily determine whether an old capacitor needs to be replaced. Remember to always use caution when working with electronic components and follow safety procedures to avoid any accidents. Stay proactive in testing and replacing old capacitors to maintain the optimal performance of your electronic devices.
How to Test an Old Capacitor
Capacitors are vital components in electronic circuits, storing and releasing electrical energy when needed. Over time, capacitors can degrade and lose their functionality, affecting the performance of the device they are a part of. Testing old capacitors is crucial to ensure the proper functioning of your electronic devices. In this article, we will discuss how to test an old capacitor to determine whether it needs to be replaced.
What is a Capacitor?
A capacitor is a passive electronic component that stores electrical energy in an electric field. It consists of two conductive plates separated by an insulating material called a dielectric. When a voltage is applied across the plates, the capacitor stores energy in the form of an electric field. Capacitors come in various types and sizes, ranging from tiny surface-mount capacitors to large electrolytic capacitors used in power supplies.
Why Test an Old Capacitor?
As capacitors age, they can develop faults such as leakage, high ESR (equivalent series resistance), or short circuits. These faults can lead to malfunctions in the circuit, affecting the performance of the device. Testing old capacitors is essential to identify any faults and replace them if necessary. It is far better to proactively test and replace faulty capacitors than to deal with the consequences of circuit failure.
How to Test an Old Capacitor
There are several methods to test an old capacitor, depending on its type and size. One common method is to use a multimeter to check the capacitance, ESR, and leakage of the capacitor. Here is a step-by-step guide on how to test an old capacitor using a multimeter:
- Turn off the power to the device containing the capacitor and discharge the capacitor by shorting its terminals with a resistor.
- Set your multimeter to the capacitance measurement mode.
- Connect the multimeter leads to the capacitor terminals, observing the polarity.
- Read the capacitance value displayed on the multimeter. Compare this value to the rated capacitance of the capacitor.
- Next, switch the multimeter to the resistance measurement mode to check the ESR of the capacitor.
- Connect the multimeter leads to the capacitor terminals again and read the ESR value displayed on the multimeter.
- A high ESR value indicates a faulty capacitor that needs to be replaced.
- Finally, switch the multimeter to the continuity measurement mode to check for any leakage in the capacitor.
- Connect one multimeter lead to the positive terminal of the capacitor and the other lead to the negative terminal.
- If the multimeter beeps or shows continuity, it indicates leakage in the capacitor.
By following these steps, you can effectively test an old capacitor using a multimeter. If the capacitor fails any of the tests, it is best to replace it with a new one to ensure the proper functioning of your electronic device.
Conclusion
Testing old capacitors is a simple yet crucial task to ensure the reliability of your electronic devices. By following the steps outlined in this article, you can easily determine whether an old capacitor needs to be replaced. Remember to always use caution when working with electronic components and follow safety procedures to avoid any accidents. Stay proactive in testing and replacing old capacitors to maintain the optimal performance of your electronic devices.