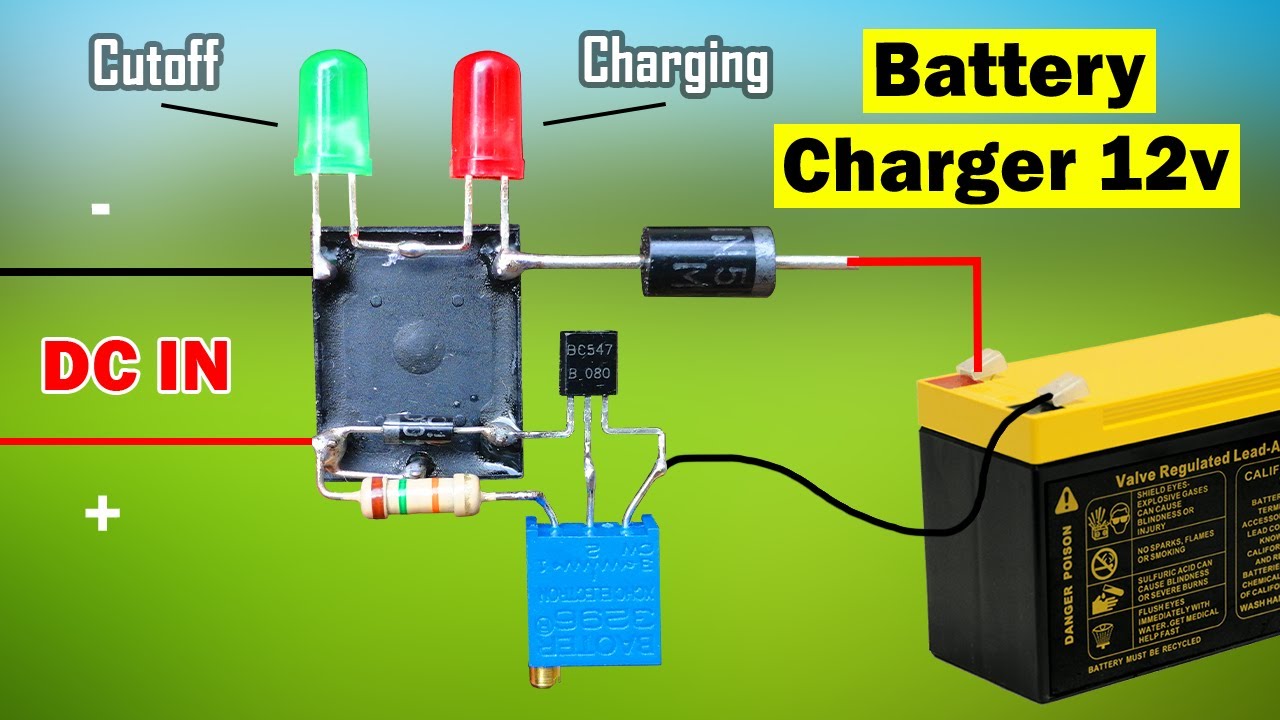
How to Make a Simple Battery Charger
Are you tired of constantly buying disposable batteries for your devices? Why not make your own simple battery charger at home! In this article, we will guide you through the steps to create a basic battery charger using common household items. Let’s get started!
Materials Needed:
- 9V Battery Snap Connector
- Alligator clips
- 1N4001 Diode
- 9V DC Power Supply
- Wire Strippers
- Soldering Iron
- Solder
Step 1: Prepare the Components
First, gather all the materials listed above. Using the wire strippers, strip the insulation from both ends of the wires on the 9V battery snap connector and the alligator clips.
Step 2: Connect the Components
Connect the black wire of the battery snap connector to the black alligator clip. Then, connect the red wire of the battery snap connector to one end of the 1N4001 diode using the soldering iron and solder.
Step 3: Complete the Circuit
Now, connect the other end of the diode to the red alligator clip. This forms a simple charging circuit that can be used to charge small rechargeable batteries.
Step 4: Test the Charger
Test the charger by connecting the alligator clips to the terminals of a rechargeable battery. Make sure to observe the correct polarity (+ and -) to avoid damaging the battery.
Step 5: Safely Store the Charger
Once you have tested the charger and ensured it is working properly, store it in a safe place away from water or fire hazards. Always unplug the charger when not in use to prevent any accidents.
Conclusion
Congratulations, you have successfully made your own simple battery charger! This charger is perfect for charging small rechargeable batteries for your electronic devices. Feel free to experiment with different components to customize your charger further. Have fun with your new DIY project!
Was this helpful?
0 / 0