How to Check Continuity in a Circuit?
Continuity testing is a crucial process in electronics to ensure that there are no breaks in a circuit. It helps in identifying faults and troubleshooting problems. This article will guide you on how to effectively check continuity in a circuit.
What is Continuity?
Continuity refers to the uninterrupted flow of current in a circuit. If there is a break in the circuit, the current cannot flow, and the circuit is considered open. A multimeter is a common tool used to test continuity in a circuit.
Steps to Check Continuity:
- Turn off the power: Before testing continuity in a circuit, make sure to turn off the power source to avoid any accidents.
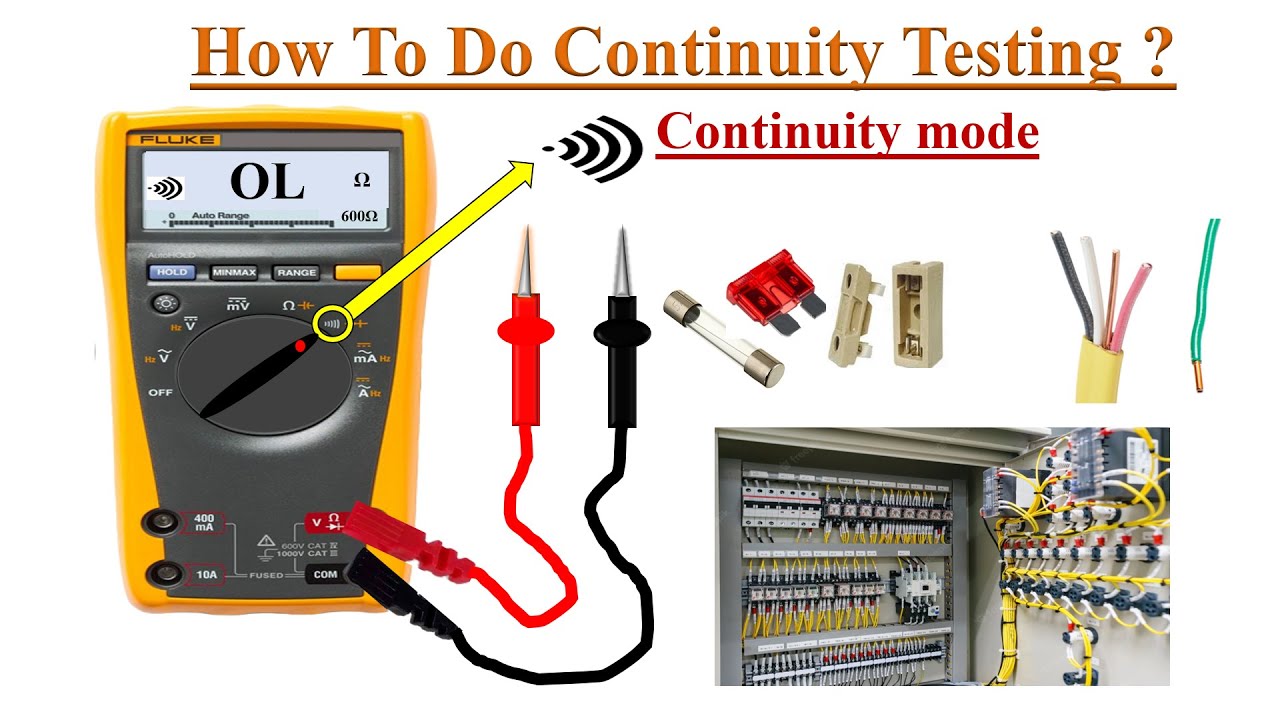
- Select continuity mode on the multimeter: Set your multimeter to continuity mode. This mode emits a beep when there is continuity in the circuit.
- Test the multimeter: To ensure the multimeter is working properly, touch the two leads together. You should hear a beep indicating continuity.
- Place the leads on the circuit: Place one lead on one end of the circuit and the other lead on the opposite end. If there is continuity in the circuit, you will hear a beep.
- Repeat the process: Test different points in the circuit to check for continuity throughout.
Common Issues Detected by Continuity Testing:
- Broken wires: Continuity testing helps in identifying broken wires in a circuit.
- Short circuits: It can also detect short circuits where current flows through an unintended path.
- Faulty components: Continuity testing can pinpoint faulty components in a circuit.
Conclusion:
Checking continuity in a circuit is essential for troubleshooting and ensuring proper functioning. By following the steps mentioned above, you can effectively test continuity in a circuit and identify any faults. Remember to always prioritize safety when working with electronics.
Was this helpful?
0 / 0